Sound Bunker EcoSecure Pool Pump Cover Assembly Guide is designed to help you quickly and easily reduce the noise of your pool pump.
This guide will provide you with step-by-step instructions on how to install the pool pump cover and make sure that your pool pump stays quiet.3
EcoSecure Pool Pump Cover Installation Guide (Video):
EcoSecure Pool Pump Cover Installation Guide:
1. Attach the adjustable feet


Using the screws provided, line up the adjustable feet with the pre drilled holes on the inside (the smooth side) of the side panels.

Adjustable feet are an optional extra.

Great to use when the site is not level.

Use a paver or something solid under each.

This is a customised backless version of our box.

Mount the brackets to the wall to give it support.

If you have a back panel, attach one side panel to the back piece as will be explained later in the video.

The side panels are normally slightly taller at the back than at the front.

This is a custom build to work around the existing equipment - contact us to find out more.
If backless, adjust the feet before you continue.
If you have a full four sided version, you can do this at the end.
If backless, attach the wall mounted brackets to the side panel.
2. Install the Front Panel


Line up the interlocking mechanism with the slots on the side panel.

Push the front panel down.

Using a rubber mallet or hammer and a piece of timber in between, tap the top of the front panel to lock it into place until the top of the front is level with the side panel.
3. Install the Side Panel


Interlock the side panel with the front panel (and the back panel if you have a full four sided version).

If backless, adjust the feet.
4. Install the Roof


Line up the hinges on the sides at the back of the roof panel, with the receivers on the top of the side panels.

To lock them into place, the roof needs to go into the receiver at the right angle to the side panel.

Due to the nature of this install mounting brackets could not be used to secure the side panel in place.
5. Attach the Hinges To The Doors


Orientate the doors so that the top hinge is where it says “TOP” on the door.

On a flat surface, line up the hinges with the pre-drilled holes and screw in the screws (do not overtighten).
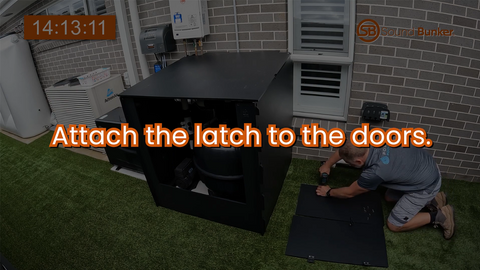
6. Attach the Latch to the Doors
7. Attach the Doors to the Front of the ECOSecure


Line up the screw holes and screws with the pre-drilled holes on the front panel.

By following the instructions in this guide, you can enjoy a quieter pool pump and a more pleasant outdoor environment.
About Sound Bunker
Sound Bunker's pool pump covers and pool enclosures are an excellent way to protect your pool pump from the elements and reduce the noise it emits. See our variety of pool pump covers, visit www.soundbunker.com.au today!